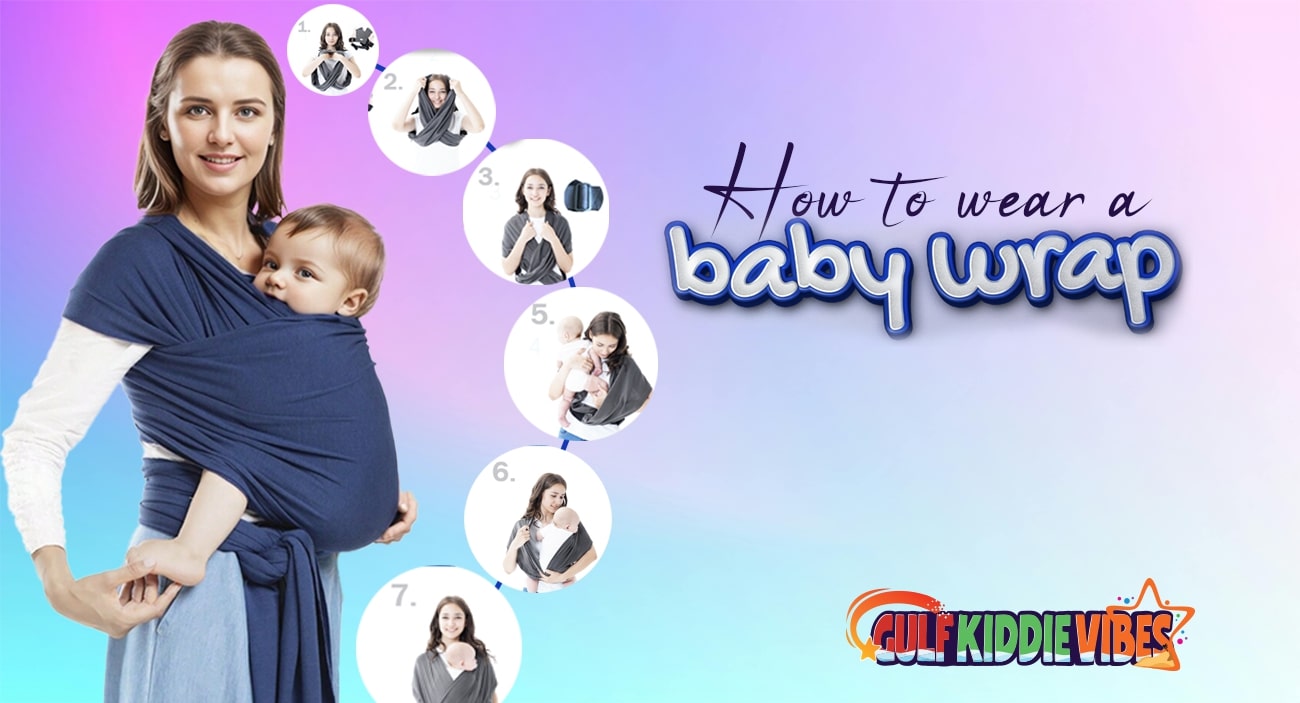
How to Wear a Baby Wrap: Easy Steps for New Mom
Wearing a baby wrap might feel like learning a magic trick at first, but trust me, it’s easier than it looks! You can easily closely wrap your baby with a baby wrap by following some simple steps.
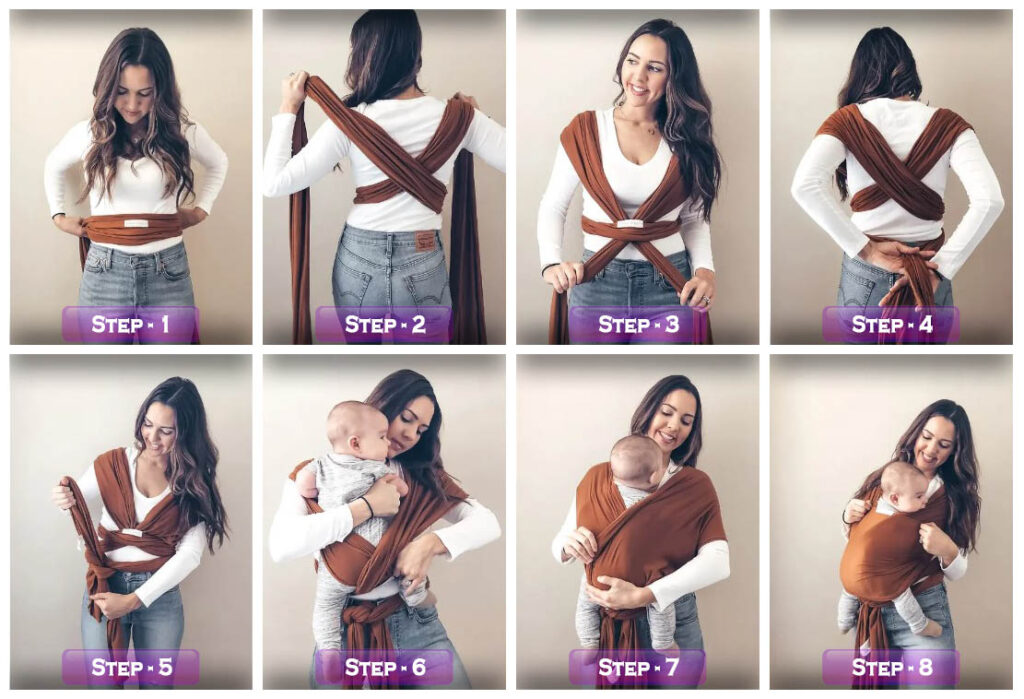
Most wraps have a tag or marking in the middle. This is your starting point. Place it on your chest, like giving yourself a superhero cape. Cross it behind your back – Pull the fabric ends around your back, crossing them into an “X.” Bring them up over your shoulders like you’re about to do a dramatic scarf toss.
Pull the fabric across your chest to create a secure pocket for your baby. Their knees should be higher than their bottoms, forming a “M” shape. Tie it up – Bring the ends to the front, cross them, and tie a secure knot at your waist.
Adjust the wrap so your baby is close enough to kiss, snug but not squished.
Table of Contents
I love baby wraps! They help me a lot with carrying my babies without causing pain. When I had my first baby, I noticed so many moms struggling with baby wraps. Some didn’t know where to start, and others felt too nervous to try. Wrapping your baby can seem like wrestling an octopus. It may feel difficult at first but trust me if you can follow the proper guideline, it doesn’t have to be that hard.
I still use a baby wrap for my littlest one. It’s a lifesaver when you need to keep your baby close but still want your hands free for chores, snacks, or even a much-needed cup of coffee. I’ve been through trial and error, and I’m here to share with you what works for me.
In this guide, I’ll show you how to wear baby wrap step by step. With a bit of practice, you can wrap like an expert. Plus, I’ll sprinkle in my personal tips to make this process easier for you.
When Can You Start Wearing a Baby Wrap?

You can start wearing your baby in a wrap as soon as they’re born. Newborns love the closeness as it reminds them of being in the womb.
Baby wraps are perfect for the fourth trimester (those first three months after birth) because they provide warmth, comfort, and a sense of security. Just make sure your baby’s head and neck are supported, especially in the early weeks.
If you’re ever unsure, talk to your pediatrician to confirm your baby is ready for a wrap.
Step-by-Step Guide: How to Wear a Baby Wrap

Step 1: Prepare the Wrap
First I identify the center of the wrap. Most wraps have a tag or marking to help you locate it. This is your starting point.
Step 2: Position the Wrap
Then I hold the center of the wrap against my chest. I make sure the fabric is flat and not twisted. I let the ends hang down evenly on both sides.
Step 3: Cross the Wrap Behind Back
I take the fabric ends and cross them behind my back to make an “X.” Then, I bring them over my shoulders, like putting on a superhero cape (because let’s face it, we all are superhero parents!).
Step 4: Create a Seat for Your Baby
After that, I bring the ends across my front and tie them loosely at my waist. Then, I place my baby’s legs through the crossed fabric. Make sure your baby’s legs form an “M” shape, with knees slightly higher than their bum.
Step 5: Secure the Wrap
Then I tighten the wrap by pulling on the fabric ends and tying a double knot at my back or side. I ensure the wrap feels snug but not too tight.
Step 6: Adjust for Comfort
Lastly, I spread the fabric evenly over my baby’s back and bum. The wrap should support your baby’s head, especially if they’re a newborn.
Check that your baby is close enough to kiss, this ensures they’re in the right position.
Types of Baby Wraps

1. Stretchy Wraps
Best for: Newborns and first-time users
I start with stretchy wraps for my kids. You can use stretchy wraps for starting as they are soft, elastic, and incredibly comfortable. They’re made of lightweight, breathable fabric like cotton or bamboo. I love them because they feel cozy for my baby. I also feel comfortable wearing stretchy wraps.
Why moms love it:
– It’s easy to tie and modify.
– Perfect for the early months when your baby is small and light.
– Great for skin-to-skin bonding.
Keep in mind:
– Not ideal for heavier babies or toddlers since the fabric may sag.
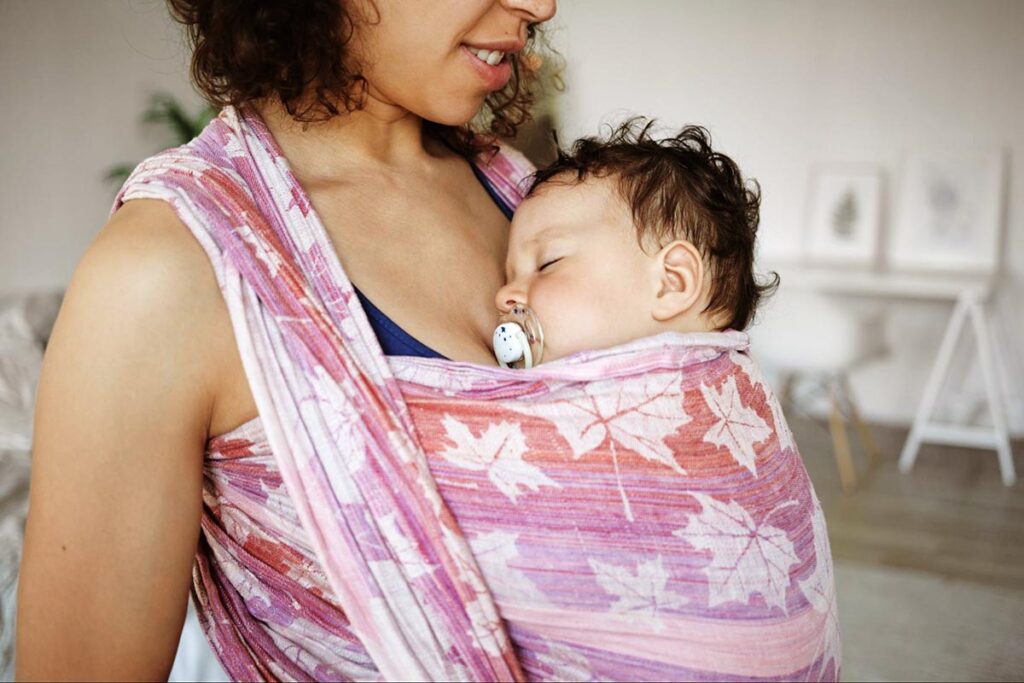
2. Woven Wraps
Best for: Heavier babies and long-term use
I think woven wraps are the workhorses of the babywearing world. They’re made of durable, non-stretchy fabric that provides excellent support. I use woven wraps for my toddlers as well.
Why moms love it:
– Suitable for a wide range of carrying positions (front, back, and hip).
– Offers great support for both baby and mom.
– Have beautiful designs and colors.
Keep in mind:
– Needs practice to tie appropriately.
– Heavier and less compact than stretchy wraps.
3. Ring Slings
Best for: Quick and easy babywearing
A ring sling is a shorter piece of fabric with two rings at one end. It’s worn over one shoulder, so you can easily pop your baby in and out. I use ring slings whenever I’m in a hurry.
Why moms love it:
– Ideal for quick trips or when your baby wants frequent ups and downs.
– Lightweight and portable.
– Perfect for warm climates.
Keep in mind:
– Puts weight on one shoulder, which can be uncomfortable for long periods.
4. Wrap-Con Hybrids
Best for: Parents who want extra convenience
To me wrap-con hybrids are the best of both worlds. They combine a baby wrap’s coziness with a structured carrier’s convenience. You can easily wrap with them as they usually have the pre-tied sections or buckles.
Why moms love it:
– Quicker to use than traditional wraps.
– Provides wonderful support for your back and shoulders.
– Great for parents who are new to wrapping.
Keep in mind:
– Less customizable than traditional wraps.
5. DIY Wraps (Blanket Wraps)
Best for: Budget-conscious parents or emergency use
If you are on a tight budget then I suggest you use sturdy pieces of fabric or even blankets as makeshift wraps. Although, they are not polished like other wraps, they can work in a pinch.
Why moms love it:
– Affordable and customizable.
– Encourages creativity.
Keep in mind:
– Requires careful tying for safety.
What Is the Best Position for a Newborn Wrap?

When it comes to wrapping your newborn you have to cleverly choose the right position. The right position ensures your baby’s comfort, safety, and proper development. The upright position is widely considered the best and safest for newborns in a wrap.
Why the Upright Position?
- Upright position promotes proper airway support. This position keeps your baby upright and ensures their chin stays off their chest. This position doesn’t also restrict breathing.
- This position encourages healthy hip development. In this position, the baby’s legs form an “M” shape, with their knees higher than their bottom. This ergonomic posture supports healthy hip joints and reduces the risk of hip dysplasia.
- You can closely monitor your baby in an upright position. Your baby is “close enough to kiss,” making it easy to check their position, breathing, and comfort.
- It supports digestive comfort. Upright positioning can help alleviate gas and reduce reflux, especially after feeding.
Pros and Cons of Baby Wraps
Pros
1. Keep your baby close and secure.
2. Allows hands-free multitasking.
3. Supports baby’s physical and emotional development.
4. Reduces crying (hello, peaceful naps!).
5. Portable and easy to store.
6. Increases bonding between parent and baby.
Cons
1. Can feel tricky to learn at first.
2. Some wraps are too warm for hot climates.
3. May require frequent readjustment.
Safety Guidelines
Wearing your baby safely is key. Follow the T.I.C.K.S. rule:
Tight: The wrap should hold your baby snugly.
In view at all times: You can always see your baby’s face.
Close enough to kiss: Your baby’s head should be within easy reach of your lips.
Keep chin off chest: Ensure your baby’s airway stays open.
Supported back: Your baby’s spine should be straight, not slouched.
Tips for First-Time Users
- Practice with a doll first before wrapping your baby. I used a stuffed toy to practice before doing it with my baby.
- You should use a mirror to check your wrap’s positioning.
- If it is possible then do it with someone’s help. Have someone assist you until you feel confident.
Related: How to Take Clothes Measurements for Baby Boys?
Washing and Caring for Baby Wraps
- Check the Label First
Before I toss my baby’s wrap into the wash, I always take a moment to read the care label. Reading the labels beforehand is important as different materials, like cotton, bamboo, or woven blends, may have specific washing instructions.
Stretchy wraps: They are often machine-washable but I prefer cold water and gentle cycles.
Woven wraps: They may require hand washing or delicate cycles. It depends on the fabric.
- Washing Your Baby Wrap
Machine Wash:
- I use a gentle detergent. You can choose a baby-safe, fragrance-free detergent that won’t irritate your baby’s sensitive skin.
- I prefer to use cold or lukewarm water. Hot water can shrink or weaken the fabric over time. So, I avoid hot water.
- I follow the gentle cycle. This minimizes wear and tear, especially for stretchy wraps.
Hand Wash:
- I choose cold or lukewarm water for hand washing. First, I fill a basin with cold or lukewarm water.
- Then, I add a small amount of detergent and swirl it around.
- After that, I gently submerge the wrap, letting it soak for 10–15 minutes.
- Lastly, I rinse thoroughly to remove all soap residue.
I prefer air drying over tumble drying. Sometimes, I tumble dry if the care label permits.
- Storing Your Baby Wrap
When not in use, I store baby wrap properly to keep it fresh and ready for next use.
I fold them neatly. I avoid stuffing it into a drawer as it can wrinkle and stress the fabric. I use a cotton bag to store the wraps. You can use any breathable bag to protect it from dust and moisture.
Try to avoid plastic bags. These can trap humidity and cause mildew
- Tips for Prolonging Your Wrap’s Life
- Wash sparingly to reduce wear and tear. I spot-clean minor spills whenever possible.
- I rotate between two or more wraps if I use them daily to reduce overuse.
- I avoid harsh chemicals like bleach, which can weaken fabric fibers.
Frequently Asked Questions (FAQs)
Question: How Tight Should a Baby Wrap Be?
Answer: You shouldn’t wrap your baby too tight. A baby wrap should be snug but not restrictive. It needs to support your baby securely without causing any discomfort. The key is the “close enough to kiss” rule—your baby should be high enough on your chest for you to kiss their head easily.
Question: How Long Can a Baby Stay in a Wrap?
Answer: Babies can stay in a wrap for about 1–2 hours at a time. Make sure to give them breaks to stretch, change positions, and check for signs of discomfort. Younger babies need regular feedings and diaper changes. So you have to be careful with their needs.
Question: When Should You Stop Wrapping Your Baby?
Answer: Stop wrapping your baby when:
They exceed the weight limit of the wrap (usually 30–35 pounds).
They show signs of wanting more freedom to move.
You or your baby feel uncomfortable.
Question: Can a Wrap Cause Swelling?
Answer: If you can properly wear wrap it should not cause swelling. Your baby will face swelling if the wrap is too tight. It restricts circulation if the baby is improperly positioned. Always check that your baby’s legs are in the “M” position and that there are no red marks on their skin after use. If you notice swelling, adjust the wrap or stop using it until the issue is resolved.
Conclusion
Learning how to wear a baby wrap can feel daunting, but it’s worth it. Keeping your baby close while freeing your hands is a game-changer. I still use a wrap with my littlest one, and it makes life so much easier.
I hope with my step-by-step guide you’ll soon master the art of baby wrapping.
Got questions or tips of your own? You can share them in the comments.


